

Using your own custom domain
Evance allows you to map any number of domain names to your Evance domain and have one preferred domain.
Getting a domain name
Before you can map a domain name to your Evance domain you will need to purchase a domain through a domain registrar. We advise using a company that specialises in domain names and offers a control panel from which you can control your domain. Domain names are usually registered on a 1 or 2 year basis, so it is important to ensure you make use of the auto-renewal service with your registrar.
Setting up your domains in Evance
Let's say you purchased a new domain called example.com and you want to map www.example.com (a sub-domain)
and example.com
(a root domain) to example.evance.me (your Evance domain).
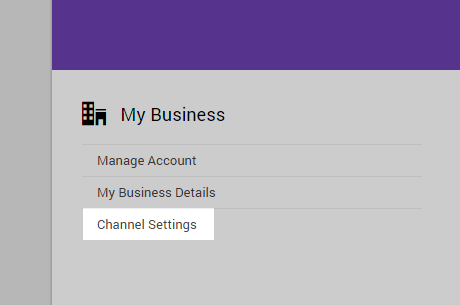
Go to the settings page.
On the settings page click on "Channel Settings" under "My Business".
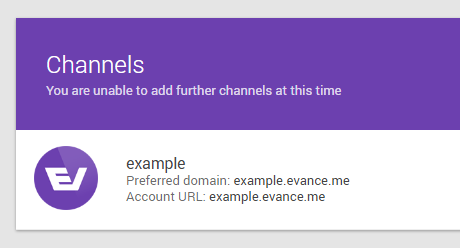
Click on the Channel you wish to edit. In this case we want to edit example.evance.me, but you will find your
own account domain in your Channel list.
Scroll down the page till you find the "Domains" section.
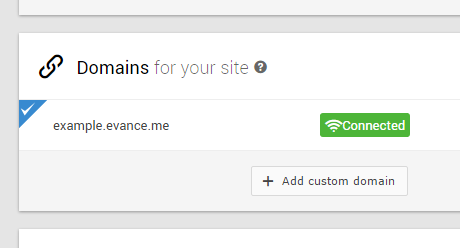
You will notice that your Evance domain is pre-populated. Click the "Add custom domain" button and you will be presented
with a new dialogue window. Follow the instructions on the "Add Existing Domain" dialogue. You will need to repeat this
process for both your sub-domain and your root domain e.g. example.com and www.example.com. If
you are using Evance as an extension of an existing site using a sub-domain only (such as shop.example.com)
you only need to do this process once for that sub-domain.
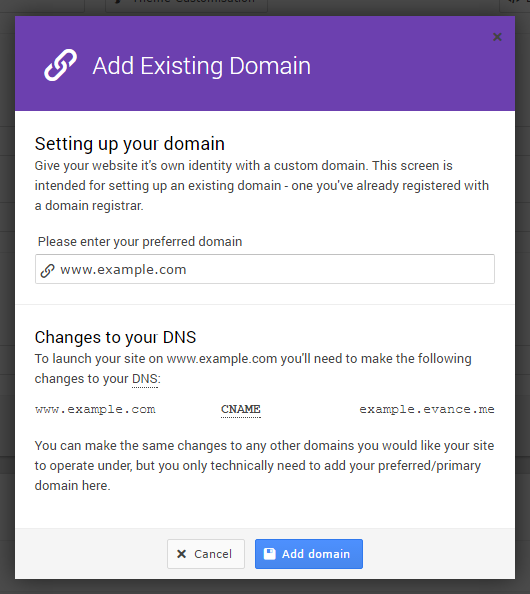
Evance offers advice on changes to your DNS using a CNAME, but this may not be strictly true if you wish to use Evance on a root domain and we'll address this below. Once you have entered your domain press the "Add domain" button. The dialogue window will close and you'll find your new domain added to the list.
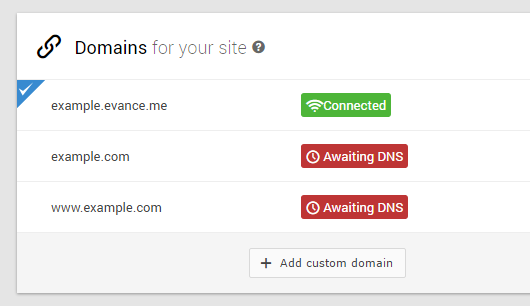
Evance is now awaiting changes to be made to your domain's DNS (Domain Name Server) settings. The DNS settings are managed by your domain's registrar.
Connecting sub-domain DNS
A sub-domain is any prefix to the domain you originally purchased, so www.example.com is a sub-domain of example.com (your root domain).
- Log in to your account with your domain registrar.
- Find the DNS settings within your control panel for your domain.
- If there is already an entry for your sub-domain you may wish to take note of its original value and then delete it.
- Now add a new CNAME record (Canonical Name).
- Enter your sub-domain prefix in the original location field. This may also be labelled Name, Host or Alias. The sub-domain
prefix may be anything you like. For a
www.example.comweb address the prefix to enter would be "www". - Enter your Evance domain as the destination. This may also be labelled Value, Points to, or Destination. In this case
it would be
example.evance.me. You should enter the domain and not an IP address. - If you see an editable TTL field you may wish to set the value to 30 seconds.
- Save the CNAME record and ensure it has been added correctly.
Connecting root domain DNS
Root domains are set-up slightly differently to sub-domains for incredibly geeky technical reasons. Some registrars support CNAME entries for your root domain using CNAME flattening, if so you can execute the same steps for your root domain as you did for your sub-domain. The difference will be that the original location field should contain nothing or an @ symbol. However, most registrars do not currently support CNAME flattening so you will most likely need to execute the following steps.
- Log in to your account with your domain registrar.
- Find the DNS settings within your control panel for your domain.
- If there is already an entry for your root domain you may wish to take note of its original value and then delete it.
- Now add a new A record.
- Enter @ in the original location field. This may also be labelled Name, Host or Alias.
- Enter your Evance's IP address as the destination: 185.59.60.241
- If you see an editable TTL field you may wish to set the value to 30 seconds.
- Save the A record and ensure it has been added correctly.
Changing your preferred domain
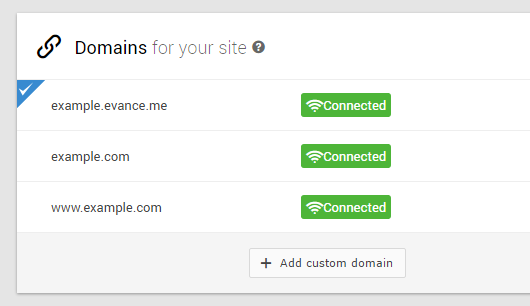
Once you have made the relevant changes to your DNS you will need to ensure that Evance is connected to your domains before changing your preferred domain. If they have successfully connected you should see something similar to:
The blue tick to the left of your Evance domain indicates that this is currently your preferred domain. Click on the "Options" button to the right of the domain you wish to make your preferred domain:
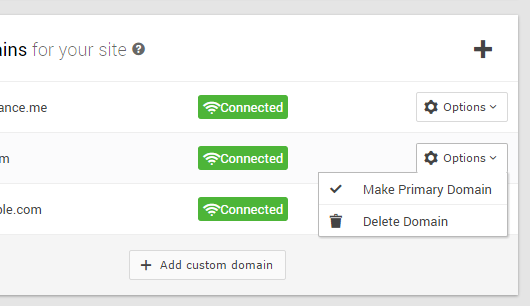
Click "Make Primary Domain".
You will be presented with a new dialogue window. Follow the instructions on the window and if you are happy to proceed press the "Continue" button.
Caution: If your own DNS settings have not resolved you may temporarily lose access to your Evance account till they have resolved. If you are still unable to access your account after 48 hours please contact your Evance account manager.